Once Android setup is done, open android studio and follow below steps to create your first android Application.
1. Click on File -> New -> New Project as show below

Create New Project window will open now.
2. Configure your new project:
Enter Application name, Company Domain, Package name, Check include C++ support if you want to develop applications using C++, and select location where you want to save your project.
Application name: Enter name of your application
1. Name should not start with lowercase

2. Name can start with special symbols like ; , $, @ etc. as shown below


If we create project with this application name, then application will run and the name of the application will looks like below.

3. Name can consists of white spaces
4. No other project with same name should present in the same location.
Note: Enter Application name as "My First Application"
Company Domain: The domain name is used by Android Studio to generate a package name. Give whatever name you like to include in package.
1. It cannot start with special symbols
2. It can start with any letter ( either lower or upper case)
3. As we discussed domain name is used by Android studio to generate package name, what will happen if we enter some java keyword as domain name for example "super" or "case" etc ?
Ans: As the package name should not contain java keywords, studio will automatically change package name to some other by adding some character. If we give super as domain name, then the package name will change to "asuper.myfirstapplication" as shown below.

Note: Keep "com" as Company Domain name for now
Package name: It is just a unique identifier for your application in the Google Play Store. It can be anything you want as long as it is unique. Generally, we use reverse domain names like com.something. or org.something.
1. We can edit package name using edit option in the right, once done click on done.
Include C++ Support: If you want to develop application in C++ then check it
Project Location: Choose a location where you want to put your applications.
1. Path of the location should not contain any white spaces.
Click Next.
3. Select the form factors your will run on:
1. We can develop applications for
3. Minimum SDK - Lower API levels target more devices, but have fewer features available. If you select API Level 18, the apps will not run on mobiles with lower API Levels.
Choose API 13: Android 3.2 ( Honeycomb ) for now.
Click Next

4. Add an Activity to Mobile: We can select different Activities based on your application need.
Choose Empty Activity for now, click Next.

5. Customize the Activity: Enter Activity name and layout name.
Activity Name: Enter name of the Activity, it should not start with special symbols and numbers.
Layout Name: Enter name of the layout, it should not start with special symbols, numbers and Uppercase letter.
Click on Finish

Once the Gradle build is done your project will open as below

Now Connect Mobile device to your system via USB.
Connecting mobile device to studio.
1. Connect Mobile and System with usb cable as shown below.

2. In the notifications we can see Connected as camera/Connected as Media, click on this notification
3. Select Camera and select USB debugging enabled


4. Now you can find your device connected in studio.
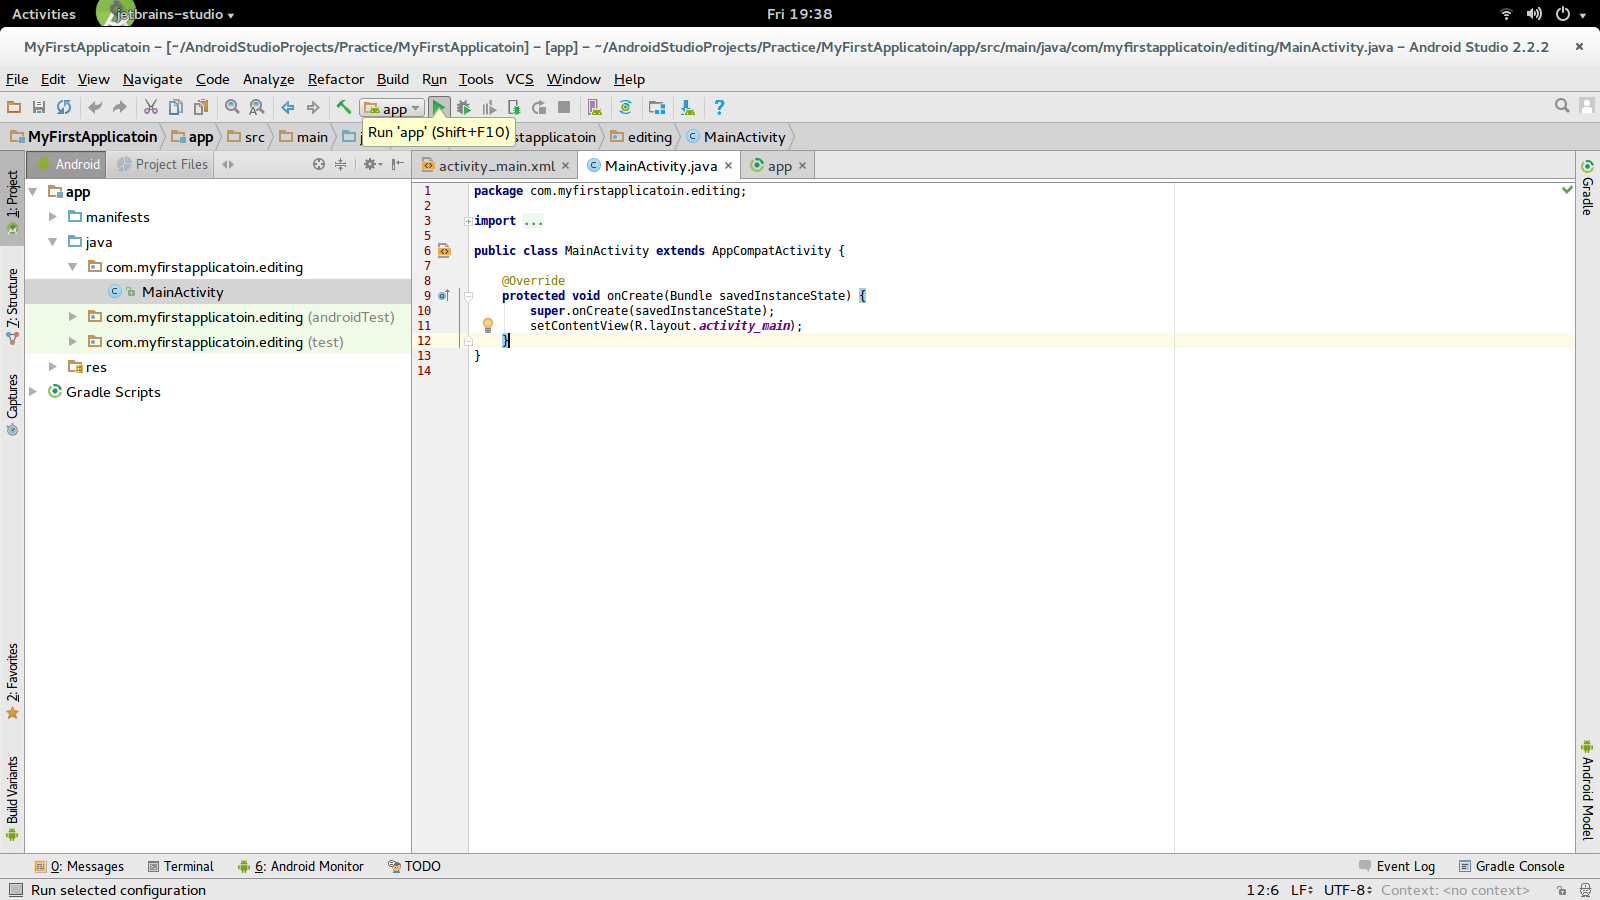
Then click on on Run button in the top as shown below.

Hey.....Your first application on your/friend's mobile......Congrates....

Structure of Android Project:
1. Click on File -> New -> New Project as show below

Create New Project window will open now.
2. Configure your new project:
Enter Application name, Company Domain, Package name, Check include C++ support if you want to develop applications using C++, and select location where you want to save your project.
Application name: Enter name of your application
1. Name should not start with lowercase

2. Name can start with special symbols like ; , $, @ etc. as shown below


If we create project with this application name, then application will run and the name of the application will looks like below.

3. Name can consists of white spaces
4. No other project with same name should present in the same location.
Note: Enter Application name as "My First Application"
Company Domain: The domain name is used by Android Studio to generate a package name. Give whatever name you like to include in package.
1. It cannot start with special symbols
2. It can start with any letter ( either lower or upper case)
3. As we discussed domain name is used by Android studio to generate package name, what will happen if we enter some java keyword as domain name for example "super" or "case" etc ?
Ans: As the package name should not contain java keywords, studio will automatically change package name to some other by adding some character. If we give super as domain name, then the package name will change to "asuper.myfirstapplication" as shown below.

Note: Keep "com" as Company Domain name for now
Package name: It is just a unique identifier for your application in the Google Play Store. It can be anything you want as long as it is unique. Generally, we use reverse domain names like com.something. or org.something.
1. We can edit package name using edit option in the right, once done click on done.
Include C++ Support: If you want to develop application in C++ then check it
Project Location: Choose a location where you want to put your applications.
1. Path of the location should not contain any white spaces.
Click Next.
3. Select the form factors your will run on:
1. We can develop applications for
- Phone and Tablet
- Wear
- TV
- Android Auto
- Glass
3. Minimum SDK - Lower API levels target more devices, but have fewer features available. If you select API Level 18, the apps will not run on mobiles with lower API Levels.
Choose API 13: Android 3.2 ( Honeycomb ) for now.
Click Next

4. Add an Activity to Mobile: We can select different Activities based on your application need.
Choose Empty Activity for now, click Next.

5. Customize the Activity: Enter Activity name and layout name.
Activity Name: Enter name of the Activity, it should not start with special symbols and numbers.
Layout Name: Enter name of the layout, it should not start with special symbols, numbers and Uppercase letter.
Click on Finish

Once the Gradle build is done your project will open as below

Now Connect Mobile device to your system via USB.
Connecting mobile device to studio.
1. Connect Mobile and System with usb cable as shown below.

2. In the notifications we can see Connected as camera/Connected as Media, click on this notification
3. Select Camera and select USB debugging enabled


4. Now you can find your device connected in studio.
Then click on on Run button in the top as shown below.
Hey.....Your first application on your/friend's mobile......Congrates....

Structure of Android Project:
No comments:
Post a Comment